
Configuring a personal signature for emails sent via MyMedLeads
To setup a personal signature on outgoing emails that are sent on your behalf from MyMedLeads, you would need to follow these easy steps. First please navigate to Preferences -> Manage Staff/Location screen.
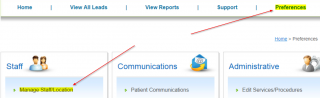
On this page you will need to click on “Edit” next to your User Name. On this screen there is a “Set Preferences” button on the bottom right of the screen, click that.
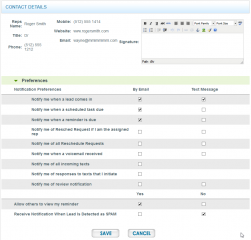
At the top right corner, you are provided a simple WYSIWYG HTML editor. You can style your basic signature there. If you want to incorporate images into your signature, it will be required for you to host this image elsewhere (such as your primary website). Within the WYSIWYG editor, you can add an image reference to that hosted image and set the size accordingly.
Steps for adding image content to your signature
To use an image on your website, locate the desired image, right-click on it, and select “Copy Image Address.” Alternatively, ask your webmaster for the link to any image they have hosted, even if it’s not currently displayed on your site. For the best results, link to an image that is the same size or very close to the size you want to use in your signature.
- From your MML user profile, locate the Signature field and click the Insert/Edit Image button (looks like a tree).
- On the General tab, paste the image URL and add a title and description.
- On the Appearance tab, adjust the sizing and alignment as needed.
- Click the Insert button.
- Save your signature content.
To edit the image size or position later, select the image with your mouse and click the Insert/Edit Image button. This will take you back to the Appearance tab, where you can make changes. Once finished, click the Update button.